Batch Product Photography Editing: How to Edit 100 Product Images in an Hour
Batch product photography editing is not about typing faster on a keyboard. It is about removing decisions entirely. If your goal is to edit 100 product images in an hour, you have exactly 36 seconds per photo. You simply cannot spend that time tweaking exposure sliders, adjusting white balance, or manually masking out studio backdrops. Any brand or photographer still editing a massive catalog image by image is bleeding margin on post-production.
Definition
Batch product photography editing is the systematic process of applying identical post-production adjustments to a large group of product images simultaneously. Rather than manually masking out backgrounds or tweaking exposure on individual files, editors establish baseline settings and synchronize them across the entire catalog. This assembly-line approach ensures strict visual uniformity while drastically reducing per-product turnaround times.
If you treat every photo as a unique piece of art, you will never scale. Catalog photography relies on strict uniformity. Your customers do not care if the third shot of a sneaker has slightly more artistic shadow contrast. They care that the red colorway of the sneaker matches the exact red of the shoe they receive in the mail. This is why keeping product photos consistent across your entire catalog is a financial necessity rather than just an aesthetic preference.
The secret to hitting maximum velocity is building an inflexible production pipeline. You either master Lightroom synchronization features to process RAW files blindly, or you bypass manual pixel pushing entirely using modern AI. Both methods work well in practice. Here is exactly how to structure your workflow to process hundreds of SKUs without missing your launch deadlines.
A high-volume batch product photography editing workflow requires moving away from single-image adjustments and embracing synchronized processing.
The Prerequisites for Lightroom Batch Editing
Before opening Adobe Lightroom Classic, you have to acknowledge a harsh reality about batch editing. Software cannot fix inconsistent studio lighting at scale. If you shot your products near a window where the cloud cover changed every five minutes, batch editing will not save you.
Your camera must be set to full manual mode. Your ISO, aperture, and shutter speed cannot fluctuate. More importantly, your white balance must be locked to a specific Kelvin value. If you leave your camera on Auto White Balance, every RAW file will interpret the color temperature slightly differently. When you attempt to sync a color correction preset across those files later, half the batch will look blue and the other half will look yellow. Consistency in post-production always starts with discipline on the studio floor.
The 60-Minute Lightroom Workflow
Let us break down how to actually process 100 images in Lightroom Classic in under an hour. This assumes you shot your products in a controlled studio environment with consistent strobe power.
Phase 1: Brutal Culling
Do not edit while you cull. This is the most common mistake beginners make. Open the Library module. Hit the caps lock key so Lightroom automatically advances to the next photo when you apply a rating. Use your number keys to rate images rapidly. Press 1 for a keeper. Press nothing for a reject. Do not deliberate over similar frames. If a shot is out of focus or the product label is obscured, skip it. You should be able to cull 300 raw files down to 100 keepers in less than ten minutes.
Phase 2: The Anchor Image
Filter your view to show only your flagged keepers. Pick one image that represents the median lighting of your entire set. Move over to the Develop module. You are going to build a baseline on this single image.
Fix your white balance first using the eyedropper tool on a neutral gray card if you used one during the shoot. Next, adjust your exposure, highlights, and shadows to bring back detail in the bright areas. Push the clarity slider up slightly to give the product texture. Do not touch local adjustments yet. Do not use radial filters, graduated filters, or healing brushes. You are establishing a global foundation that must apply equally to every product in the collection.
Phase 3: Syncing Settings
This is where the actual batch work happens. Select your anchor image, then hold shift and select the remaining 99 images in the filmstrip at the bottom of the screen. Click the Sync button in the bottom right corner.
A dialogue box will appear asking which settings to copy. Check the boxes for White Balance, Basic Tone, Tone Curve, Color Calibration, and Lens Corrections. Make absolutely sure that Local Adjustments and Spot Removal are left unchecked. If you sync a spot removal tool that erased a dust spec on one product, Lightroom will blindly clone that exact coordinate on all 100 images, likely ruining logos and edges. Hit synchronize. Lightroom will calculate and apply your baseline to all 100 images in a matter of seconds.
Phase 4: The Spot Check
Switch back to the Library module grid view. Expand your thumbnails so they are large enough to see detail clearly. Scroll through the grid looking solely for outliers. If one product was darker than the rest because it absorbed more light on set, flag it. Go back and adjust only the flagged images individually. You have now edited 100 photos in roughly 45 minutes.
Where Traditional Batch Editing Fails
The Lightroom workflow is undeniably fast, but it has severe limitations. It works beautifully for color correction, exposure leveling, and basic straightening. It completely fails when you need to remove backgrounds, add realistic reflections, or place the product in a completely new environment.
If your ecommerce brief requires isolated products on pure white backgrounds or stylized lifestyle settings, Lightroom alone is not enough. You will eventually have to export those 100 images to Photoshop to draw clipping paths and mask out complex edges. This destroys your one-hour timeline completely. Masking a bicycle or a piece of fine jewelry takes minutes per photo, not seconds. The underlying cost of photo retouching scales linearly with every complex mask you have to draw manually.
(Worth noting: you can use Lightroom's AI subject masking feature to isolate simple objects, but it frequently struggles with transparent materials like glass or intricate edges like fur. If you have a highly reflective luxury watch, you probably need that pixel-level control in Photoshop. But for 80 catalog shots of a new t-shirt line, you do not.)
The Shift to AI Batch Editing
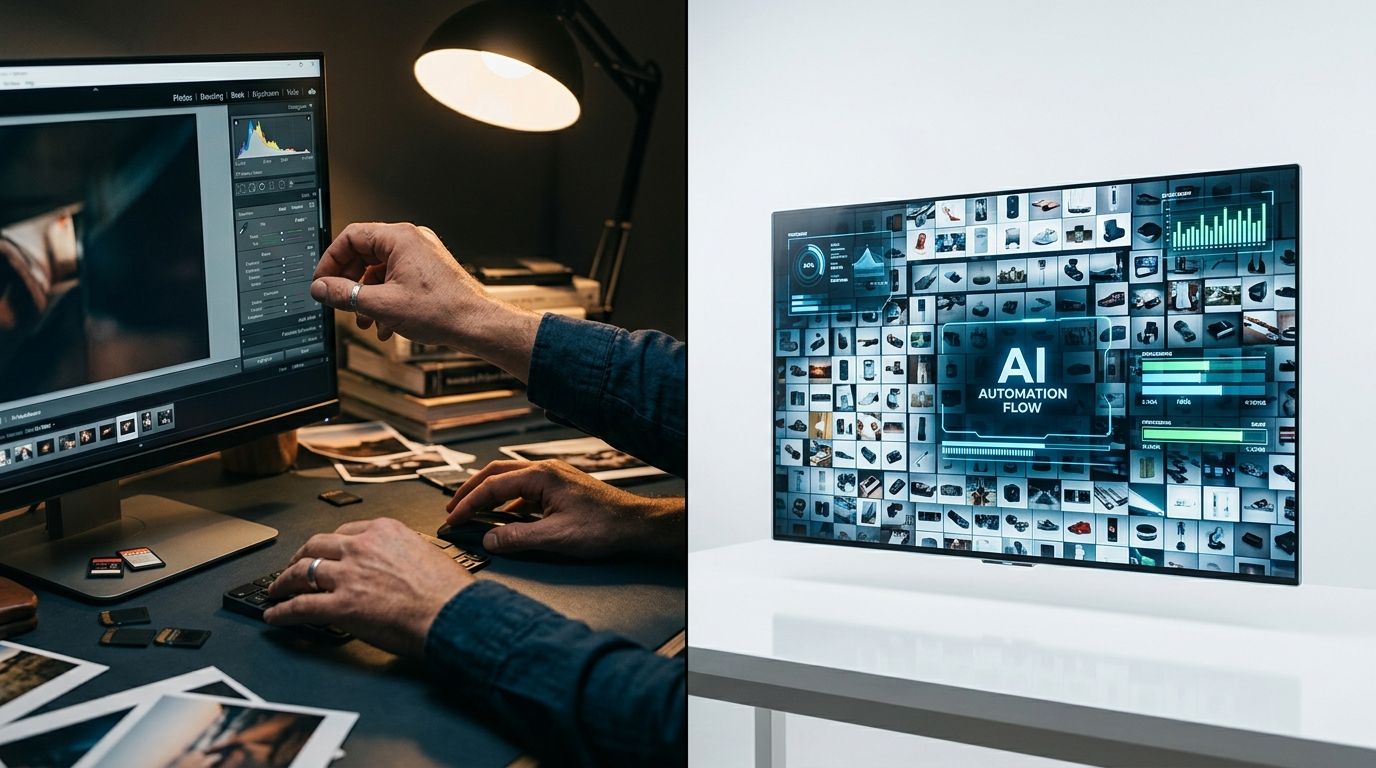
The math of product photography is changing rapidly. AI product photography tools have shifted the bottleneck from manual slider adjustments to simple creative direction. Instead of spending hours jumping between Adobe software applications, high-volume brands are using tools like CherryShot AI to automate the entire post-production pipeline simultaneously.
The AI batch editing workflow looks entirely different from a traditional studio approach. You upload your raw product images directly to the platform. The software automatically removes the studio background, preserving the natural shadows, contours, and edges. You then select a predefined visual mode that aligns with your brand guidelines. CherryShot AI offers modes like Classic for pure white catalog shots, Minimalist for clean editorial looks, or Lifestyle for natural environmental staging.
You can process dozens of images concurrently. The AI generates campaign-ready photos in minutes without requiring a single clipping path. The per-image cost drops to under $5. More importantly, the turnaround time shrinks from a multi-day post-production calendar to a single afternoon. When you eliminate the manual labor of masking and styling entirely, scaling your visual content becomes a matter of strategy rather than logistics.
Comparing Workflows: Which Is Faster?
Choosing between a traditional Lightroom workflow and AI batch editing depends heavily on your role and your final deliverable.
| Editing Requirement | Lightroom Synchronization | AI Batch Editing |
|---|---|---|
| Core Capability | Global color correction and exposure leveling | Automated background replacement and realistic styling |
| Background Removal | Requires manual clipping paths via Photoshop | Fully automated without manual masking |
| Ideal Scenario | Consistent studio raw files needing minor tweaks | Campaigns requiring new lifestyle environments |
| Turnaround Time | Minutes for color sync, hours for masking | Minutes for full composite and styling |
If you are a commercial photographer delivering high-resolution raw studio assets to a large brand that handles its own compositing in-house, stick to Lightroom. Build robust presets. Sync your basic adjustments rigorously. Deliver color-accurate files quickly so the brand's retouchers can take over.
However, if you are an ecommerce brand running your own catalog operations, Lightroom is likely slowing you down. Your goal is not to hoard raw files. Your goal is to get finished, styled, ready-to-publish images live on your Shopify store before the inventory arrives at the warehouse. General-purpose AI image tools often require too much prompt engineering to get consistent results across a large batch. Purpose-built tools like CherryShot AI allow you to select a mode, upload a reference, and let the software handle the composition at scale.
Editing 100 product images in an hour is an achievable baseline today. It simply requires you to stop treating post-production as a subjective art project and start treating it as a highly efficient assembly line. Build the system, remove the friction, and get the images live.
Frequently Asked Questions
How do I batch edit product photos in Lightroom?
Fix baseline settings on a single representative image and synchronize those exact values across the entire filmstrip. This automated replication prevents you from wasting hours repeating identical slider adjustments for every catalog product. Set white balance and exposure on your anchor photo, select the remaining raw files, click sync to duplicate your core corrections, and quickly review the final grid to catch lighting outliers.
Can I edit 100 product photos in an hour?
Processing this large volume in a single hour limits you to a strict timeline of 36 seconds per photo. Reaching this extreme speed requires you to completely abandon manual pixel manipulation in favor of fully automated workflows. You must apply global Lightroom synchronizations across visually consistent raw files or deploy AI styling tools to remove backgrounds without ever drawing a clipping path.
What is the fastest workflow for editing product photos?
The fastest approach bypasses manual post-production entirely by running unedited raw files through automated AI platforms. Traditional software demands hours of drawing tedious clipping paths, whereas modern automation styles the entire catalog instantly. Upload your batch to a system like CherryShot AI, select a predefined visual mode such as Minimalist, and let the software simultaneously generate accurate shadows and replace backgrounds.
How does AI batch editing compare to Lightroom?
Lightroom excels at global exposure correction but cannot place products into new environments without heavy manual masking. AI batch systems focus entirely on automated composition by generating realistic lighting and styling scenes without repetitive user intervention. While traditional software requires a skilled operator to balance colors, artificial intelligence platforms only need a clear creative brief to instantly replace plain backgrounds and format deliverables for ecommerce.
What is the best batch editing workflow for ecommerce?
The optimal production method depends entirely on the exact visual requirements of your final ecommerce deliverables. Tightly controlled studio campaigns requiring only pure gray backgrounds pair perfectly with fast Adobe Lightroom synchronizations. If your online store demands complex isolated cutouts, contextual product environments, or varying lifestyle backgrounds, an AI-driven process eliminates expensive outsourced Photoshop retouching and keeps your monthly post-production budget strictly under control.
Key Takeaways
- Batch editing demands a locked camera setup with manual exposure and fixed white balance on set.
- Lightroom sync features work best for global color grading but fail when complex background removal is required.
- Never sync local adjustments or spot healing tools across a large batch of product images.
- AI batch editing tools bypass traditional masking entirely to deliver styled, campaign-ready images in minutes.
The faster you move images from the camera to the product page, the faster you capture revenue. Whether you optimize your Lightroom shortcuts or switch entirely to CherryShot AI, the goal remains the same. Stop tweaking sliders individually, standardize your process, and let automation handle the heavy lifting of your catalog production.
Stop drawing manual clipping paths for your product catalog
Calculate exactly how much time you spend removing backgrounds and applying repetitive slider adjustments. If manual masking is delaying your Shopify uploads, test an automated pipeline on your next batch of raw files. You can generate styled composites instantly without opening complex editing software.
Try CherryShot AI