Food Photography for Ecommerce: How to Make Products Look Delicious Without a Stylist
You do not need a professional food stylist to make your products look delicious online. You need an understanding of directional light and a way to capture texture. Most food and beverage ecommerce brands struggle because they try to shoot a brownie or a bottle of cold brew the exact same way they would shoot a pair of sneakers. Flat, even lighting works for shoes. It absolutely kills food.
Definition
Ecommerce food photography is the specialized practice of capturing edible products and beverages to maximize appetite appeal and drive online sales. It prioritizes accurate representation and textural details over the heavy atmospheric styling often used in editorial shoots. The goal is to visually replace the buyer's inability to smell or taste the item.
The physics of appetite appeal photography dictate that shadows are required to show depth. When a potential customer scrolls past your product on a screen, they cannot smell it or taste it. The visual cues of texture are the only things driving their craving. If your lighting wipes out those shadows, your premium baked goods will look like plastic toys.
Any brand still running a full studio shoot for standard food catalog images is paying for logistics rather than quality. The invoice includes the photographer, the studio rental, the prop buyer, and the specialized food stylist who spends three hours placing sesame seeds with tweezers. By the time you get the gallery back, you have lost weeks.
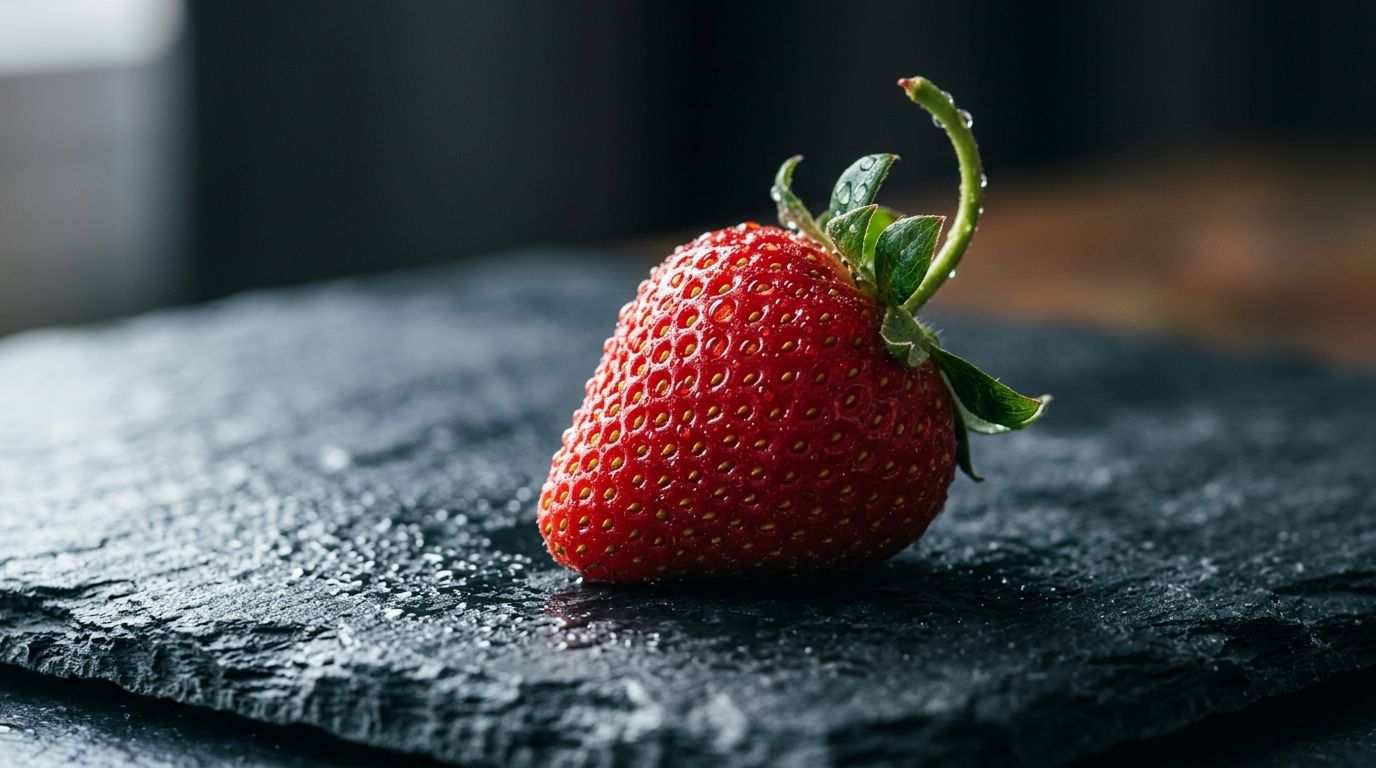
Rich textures and directional lighting create appetite appeal without the need for expensive styling tricks.
The physics of appetite appeal photography
Food product photos ecommerce buyers respond to are the ones that trigger a physical reaction. We call this appetite appeal. To achieve it, you must photograph the food in a way that highlights its freshest, most desirable qualities. For a cookie, that means capturing the crumbly edge and the glossy melted chocolate. For a salad dressing, that means showing the suspension of herbs in the oil.
Why your packaged food looks flat
Shooting raw ingredients is relatively forgiving. Shooting items in wrappers is a nightmare. The moment you place a shiny plastic bag under studio strobes, you get a massive white reflection that obscures your brand logo and washes out the colors.
To fix this, you must manipulate your light angles. Never point a light directly at the front of a shiny package. Instead, move your lights to a forty-five-degree angle or bounce them off the ceiling. This technique diffuses the glare while still illuminating the design. Knowing how to make packaged food look irresistible requires you to treat the packaging with the same care as the food inside it.
The backlight secret for fresh food photography
If you want food to look moist, fresh, and vibrant, you need backlighting. Positioning your main light source behind the product, angled slightly downward, creates highlights on the top edges of the food. These highlights signal moisture to the human brain.
When you backlight a steak, the juices glisten. When you backlight a slice of cake, the frosting catches the rim light. You will need a simple white bounce card in front of the product to push some light back into the shadows facing the camera, but the primary drama must come from behind.
Lighting rules for ecommerce food product photography
Great food photography lighting is not about flooding the room with as much brightness as possible. It is about controlling where the darkness falls.
| Lighting Technique | Visual Effect on Food | Ideal Use Case |
|---|---|---|
| Flat Front Lighting | Washes out shadows and flattens texture | Non-food items like sneakers |
| Directional Side Lighting | Creates deep shadows to define physical shape | Packaged snacks and raw ingredients |
| Angled Backlighting | Highlights surface moisture and glossy textures | Cold beverages and glazed pastries |
Shadows are your friend
Shadows define shape. A perfectly bright, shadowless image looks like a clinical record of an item. It does not look like something you want to eat. If you are using natural light for product photography, position your table next to a window so the light hits the food from the side. Place a black piece of foam core on the opposite side to deepen the shadows. This negative fill technique instantly makes the dish look moodier and more premium.
Beverage photography tips for condensation
Beverage photography ecommerce relies almost entirely on highlights and condensation. A glass of iced tea or a cold can of sparkling water must look freezing cold. In a traditional studio, stylists use a mixture of glycerin and water sprayed onto the glass to create fake condensation drops that do not evaporate under hot lights.
You can replicate this look quickly at home or in a small office studio. Chill your glasses thoroughly. Mix half water and half vegetable glycerin in a fine mist bottle. Spray the cold glass right before you shoot. The droplets will bead up perfectly and stay in place for hours.
Skipping the stylist with AI
Food styling is an art form. Traditional stylists use mashed potatoes instead of ice cream so it does not melt, and they paint raw turkeys with browning sauce to make them look roasted. For massive brands shooting a Super Bowl commercial, those tricks are necessary. For a mid-market ecommerce brand launching a new flavor of protein bar, that level of production is simply a waste of budget.
AI product photography changes the math entirely. When you use CherryShot AI, you can take a clear, well-lit photo of your food product on your kitchen counter. You upload that image, select a visual mode like Classic or Lifestyle, and the tool generates campaign-ready photos in minutes. The AI understands lighting, context, and background generation. The per-image cost drops from $150 to under $5.
There is a limitation you must acknowledge. AI cannot invent a perfect crumb structure if your actual baked goods look terrible in real life. If you upload a photo of a burned pastry, the AI will give you a high-definition, beautifully lit burned pastry. You still need to start with a decent baseline product.
(Worth noting: a professional food stylist is still worth their day rate for a national television spot or a massive hero billboard campaign. They know exactly how to manipulate ingredients for moving cameras under extreme heat. But for standard online catalog volume, paying a stylist to spend two hours arranging crumbs just burns your margin.)
Choosing the right props
If you are shooting practically before running your images through an AI workflow, keep your styling minimal. Adding too many ingredients around the main dish confuses the eye. A few scattered coffee beans next to a bag of roast is fine. A full breakfast spread next to the bag is distracting. Learning how to choose effective product props means knowing when to leave the frame empty so the food remains the hero.
Key Takeaways
- Flat lighting destroys appetite appeal by wiping out the shadows that define texture.
- Side lighting and backlighting are essential for making food look fresh and moist.
- Beverage photography requires careful handling of reflections and condensation highlights.
- AI tools eliminate the need for specialized food stylists for standard catalog imagery.
Frequently Asked Questions
How do I photograph food for ecommerce?
Shoot food using directional light to emphasize texture rather than flattening the dish with direct flash. Positioning your main light source behind or to the side of the product reveals physical details that trigger appetite appeal in buyers. Place a simple white foam board opposite your primary light to soften deep shadows while maintaining the necessary contrast for a professional look.
What lighting works best for food product photography?
Directional side lighting and backlighting are the most effective choices for making food look appetizing. Flat overhead lighting eliminates the shadows required to show depth, making your dishes appear dull and plastic. Let your light source rake across the surface from a low angle to highlight the crumb of a pastry or the gloss of a sauce, always ensuring you diffuse the beam.
How do I make food products look appealing in photos?
Highlight specific physical traits like texture and moisture to trigger a physical craving in the viewer. Visual cues of freshness determine whether a buyer clicks, meaning hot items need visible steam or melted elements while cold beverages require condensation. Add subtle context by scattering raw ingredients or placing a folded linen napkin in the background without cluttering the main focal point.
Can AI create food product photography?
Artificial intelligence generators can produce high-quality food photography from basic source images. Programs like CherryShot AI handle complex styling, background generation, and lighting enhancements by processing a standard photograph of your item. Upload a clear, well-lit shot of your physical product resting on a neutral surface to bypass expensive studio rentals and specialized stylists for standard daily ecommerce catalog production.
What is the difference between food photography for ecommerce vs social media?
Ecommerce food photography prioritizes absolute visual clarity and accuracy to drive direct conversions. The product must act as the undeniable hero against a clean background, whereas social media imagery relies on moody styling or messy action shots to capture brief attention. Place your catalog items on minimal surfaces with distinct lighting, saving the heavily propped lifestyle scenes for your brand's social feeds.
The fastest way to elevate your ecommerce food product photography is to stop relying on expensive traditional shoots. Get your lighting right, capture the raw texture of your product, and let technology handle the heavy lifting. You can start generating professional, appetizing images in minutes by uploading your products to CherryShot AI.
Test your product lighting before booking a studio
Take a clear photo of your packaged food using natural side light right now. Run it through CherryShot AI to see how different lifestyle backgrounds impact your appetite appeal. You can experiment with complex styling environments without buying a single prop.
Try CherryShot AI