How to Photograph Jewellery for Ecommerce
Photographing jewelry for ecommerce is notoriously difficult because you are balancing three conflicting variables: reflective metallic surfaces, tiny gemstone details, and the need to convey high-end luxury through a screen. Most brands fail here by using flat lighting that makes gold look like plastic or by failing to capture the texture that justifies a premium price point. You can produce professional results, but it requires a rigid, repeatable process that emphasizes light control over expensive gear.
Definition
Jewelry ecommerce photography is the process of creating high-detail visual assets that represent the exact quality, scale, and color of precious metals and gemstones. It focuses on eliminating harsh light reflections while highlighting fine textures to ensure customers feel confident buying high-value items online.
Controlling Light on Reflective Surfaces
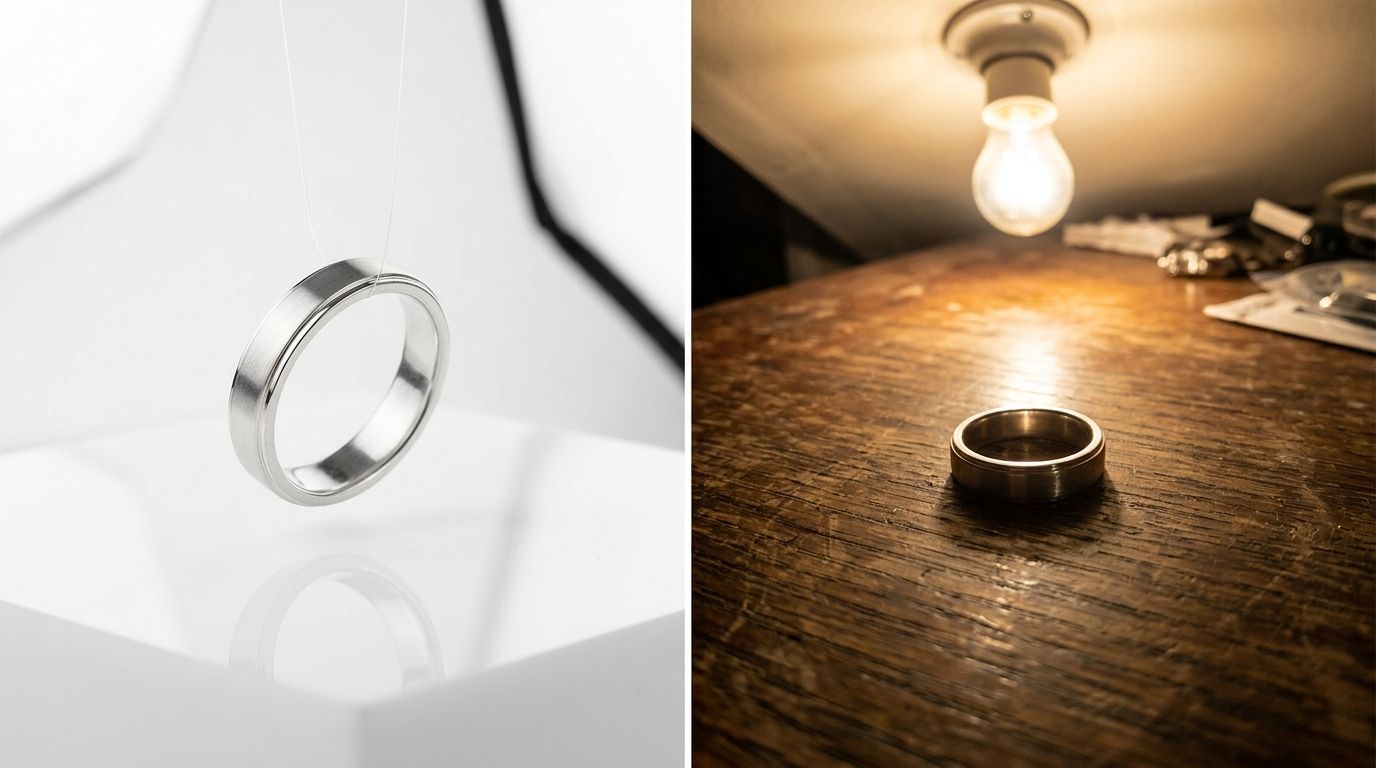
The primary enemy in jewelry photography is the mirror-like nature of your product. If you point a bare light source at a diamond ring, you will get blinding highlights and washed-out stones. You need to focus on diffusion.
Creating a consistent environment is the key to scaling your catalog. Understanding the essential lighting setups for ecommerce sellers will help you move away from hit-or-miss attempts that cost you hours of editing. Use white acrylic sheets or a specialized light tent to wrap the product in soft light. This keeps the highlights manageable and ensures your metals have a soft, appealing sheen rather than harsh, jagged white lines.
Dealing with Macro Depth of Field
Macro photography is unforgiving. When you get close enough to see the setting of a diamond, your depth of field shrinks to a few millimeters. If you shoot with a wide aperture, the front of the ring is sharp while the band is a blurry mess. You must shoot at a narrow aperture (f/11 to f/16) and rely on a longer exposure time to pull in enough light. Because you are using a longer exposure, a sturdy tripod is not optional. It is the foundation of your sharpest images.
The Workflow for High-Volume SKUs
For brands launching new SKUs every week, the traditional studio approach of setting up lights for every individual angle is a bottleneck. Finding the balance between professional output and operational speed defines your growth potential. Whether you are achieving professional flat lay results for social media or crisp white-background shots for product pages, the setup must be repeatable.
| Method | Pros | Cons |
|---|---|---|
| Studio Shoot | Absolute creative control | High cost, slow turnaround |
| Handheld DIY | Zero upfront cost | Inconsistent, poor clarity |
| AI Photography | Fast, consistent, cheap | Requires high-res input |
When you need to scale, consider when AI product photography makes sense for your jewelry brand. It eliminates the need to restage lights for every new ring size or colorway, allowing you to maintain a consistent aesthetic across your entire store while keeping costs predictable.
Frequently Asked Questions
What is the best lighting for jewelry photography?
Soft, diffused light is the gold standard for photographing jewelry. Harsh direct light creates hot spots and distracting glares on metallic surfaces. You achieve the best results by using a light box or bouncing strobes off white foam boards to create even illumination.
How do I avoid reflections in jewelry product photos?
Reflections are unavoidable because of the nature of polished metal and gemstones. You minimize these by surrounding the product with white diffusion panels or using a light tent. Positioning your camera lens behind a small hole in a white board often helps eliminate unwanted reflections of the photographer.
Should I photograph jewelry on a model or flat?
Both styles serve distinct purposes for your online store conversion rates. Use model photography to show scale and how the piece drapes on a human frame. Include flat lay images to provide clear, undistracted views of the craftsmanship and detail of the jewelry.
What camera settings work best for macro jewelry shots?
Use a small aperture like f/11 or higher to ensure your entire piece remains in sharp focus. Lower your ISO to 100 to reduce noise, which is especially noticeable in the dark backgrounds often used for luxury items. Always use a sturdy tripod because even slight hand movement ruins detail at high magnification.
Key Takeaways
- Always prioritize soft, diffused light to avoid harsh highlights on metal.
- Use a narrow aperture and a tripod to maximize depth of field for small items.
- Maintain a consistent setup to ensure brand cohesion across all product images.
- Consider AI-driven solutions when your production volume exceeds your studio capacity.
Standardize your jewelry imagery
Consistency is the biggest challenge for growing jewelry brands. You can generate professional, campaign-ready imagery from a single base photo in minutes.
Try CherryShot AIJewelry is often the most personal item a customer buys online. If your photos do not reflect the quality they expect, they will move to a store that feels more authentic and trustworthy.